
Extracting Data From A Picture Into Excel
Excel’s Power Query feature continues to mature and provide meaningful new capabilities to accounting, financial, and other business professionals. One such enhancement is the recently-added feature of extracting data from a picture into an Excel spreadsheet. So, if you’re interested in saving data entry time and increasing accuracy simultaneously, read on, and you’ll learn how to begin extracting data from a picture into Excel.
First, The Caveats
Before diving into the mechanics, let us first understand two caveats that exist with this process. First, not all Excel users have access to this feature as of this post’s publication date (December 2022). This feature is currently available only to users of Excel provisioned through a Microsoft 365/Office 365 subscription. So, if you’re not running Excel through a subscription-based license, you won’t have access to this feature until you upgrade to the next perpetual license release, presumptively Office 2024. Second, even if you run a subscription-based license of Excel, you may not have access to this feature yet. As you’re likely aware, based on your update cadence, you may receive new features every month or every six months. So, if you use a subscription-based version of Excel and do not yet have access to this feature, rest assured that it will appear in your instance of Excel in due time.
Steps For Extracting Data From A Picture Into Excel
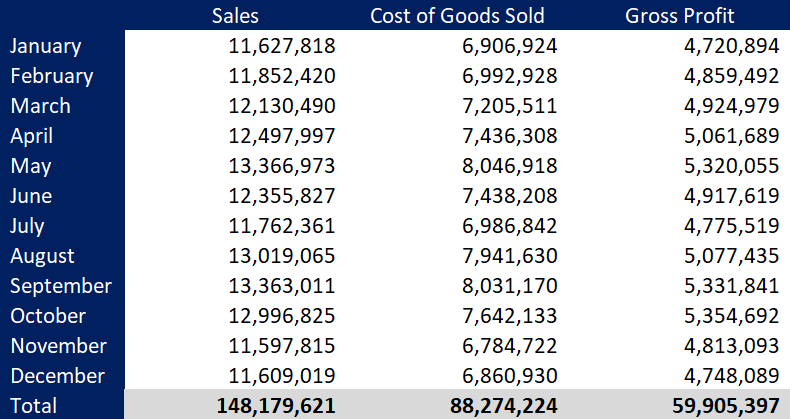
Let’s assume Pat is an auditor working on a client’s audit. The client has provided the document pictured in Figure 1 in paper format.
Pat needs this data in Excel for analysis purposes and does not want to enter the information manually into a spreadsheet. After all, that would take a bit of time to complete, and data entry introduces the risk of error. Fortunately, there is a better way – Pat can extract the data into Excel.
To extract the data, Pat performs the following steps.
- Pat uses a smartphone to take a picture of the data and saves it to the laptop.
- In Excel, Pat clicks on the Data tab of the Ribbon, chooses the From Picture option, and selects the picture containing the data for extracting and entering in Excel.
- In the resulting dialog box, Pat selects the picture previously taken and chooses Insert.
- Excel analyzes the picture and previews how it will extract the data. If necessary, Pat can make adjustments and corrections in this preview.
- Upon becoming satisfied with the preview, Pat clicks Insert Data, and Excel inserts the data into the spreadsheet.
Notably, this process is not the same as pasting the picture into the spreadsheet. Instead of a static image, this process results in editable data in Excel, and Pat can use that data just as if someone had entered it manually into the spreadsheet.
Summary
Many business professionals remain unaware of the continual improvements available in everyday applications. One such improvement is the option to extract data from a picture into Excel. Instead of re-keying data into your spreadsheet, you can take a picture of the data and extract the picture’s contents into your spreadsheet. The process is quick, easy, and accurate. So, take advantage of the new feature of extracting data from a picture into Excel instead of engaging in manual data entry processes.
You can learn more about Excel and other technologies by participating in a K2 Enterprises training event. Click here to learn more.